My seeds finally arrived and I’m excited to start planting!
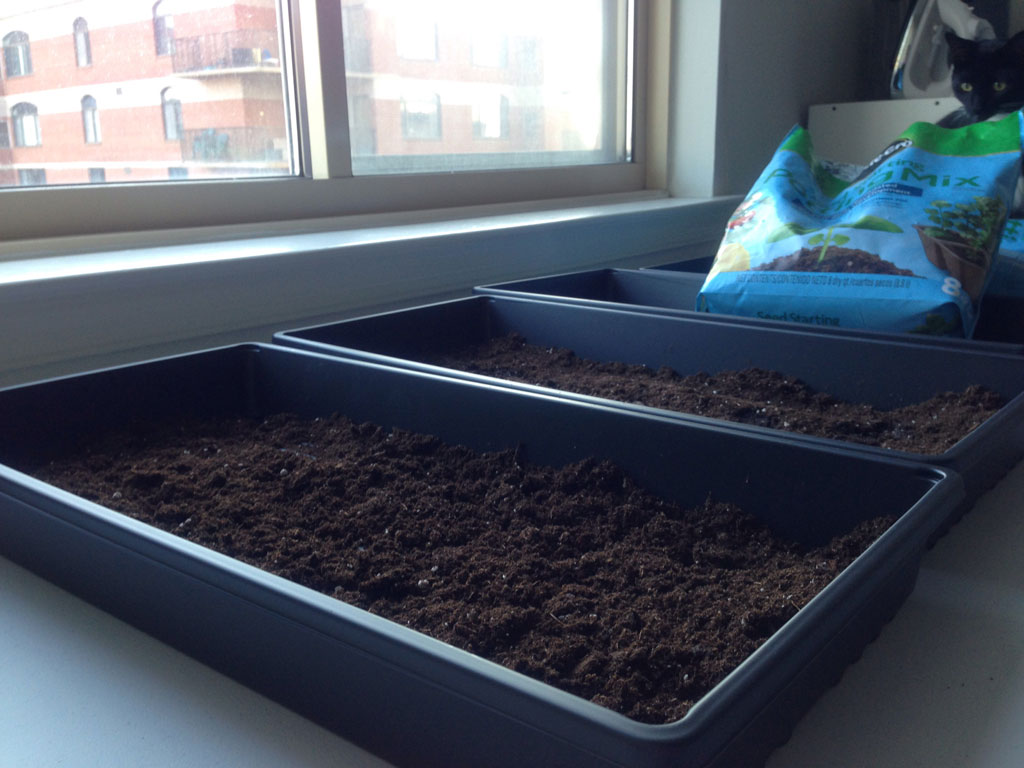
I put a large table next to a large southern-facing window that gets a lot of sun in the winter. I laid out the seed trays and dumped a good portion of seed starter in each, up to an inch or so deep. The Indoor Kitchen Gardening recommends moistening your soil before planting. If a few drips come out when you squeeze a handle, you’ve got the right moisture levels!
The next step is spreading your seeds. I had bought a lot of my seeds (see part 1) in 100 seed packets, but on spreading them out, I realized that 100 seeds will not last very long for microgreens! Thankfully, I bought beet seeds and basil seeds in huge numbers (25,000+) so I’m not running out. You want to sow them evenly and close together, so that you can harvest by cutting swathes with scissors. Spread them too far apart, and you’ll have to cut each individually (but maybe it will be bonsai-like and theraputic!)
After spreading the seeds on the top of the soil, give a light watering. You don’t want the water to pool.
(The book recommends setting dish towels over the plants for a couple of days, but I don’t really have those, so I’m skipping that step.)
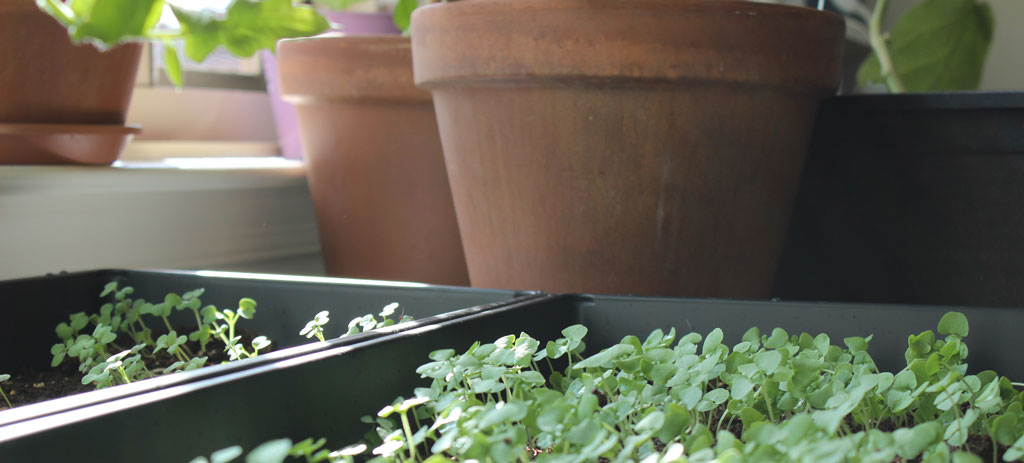
All that’s left is occasional misting and watering and waiting!
Note on Affiliate Links and Ads: The above links are all products that I researched and ended up purchasing for this project, and those choices were not at all affected by any compensation. I add affiliate links and ads to pay for the site.
Read more about Gardening
- 10 Things I Did Wrong Growing Microgreens
- Growing Basil in a Bottle
- Test Your Soil Type
- Growing Sprouts